Planning
How to plan a gallery wall around your actual photos
Most gallery wall advice starts with a template and asks you to crop your photos to fit. Start with the photos instead — here's the order that works, from choosing images to spacing, eye level and true-to-scale.
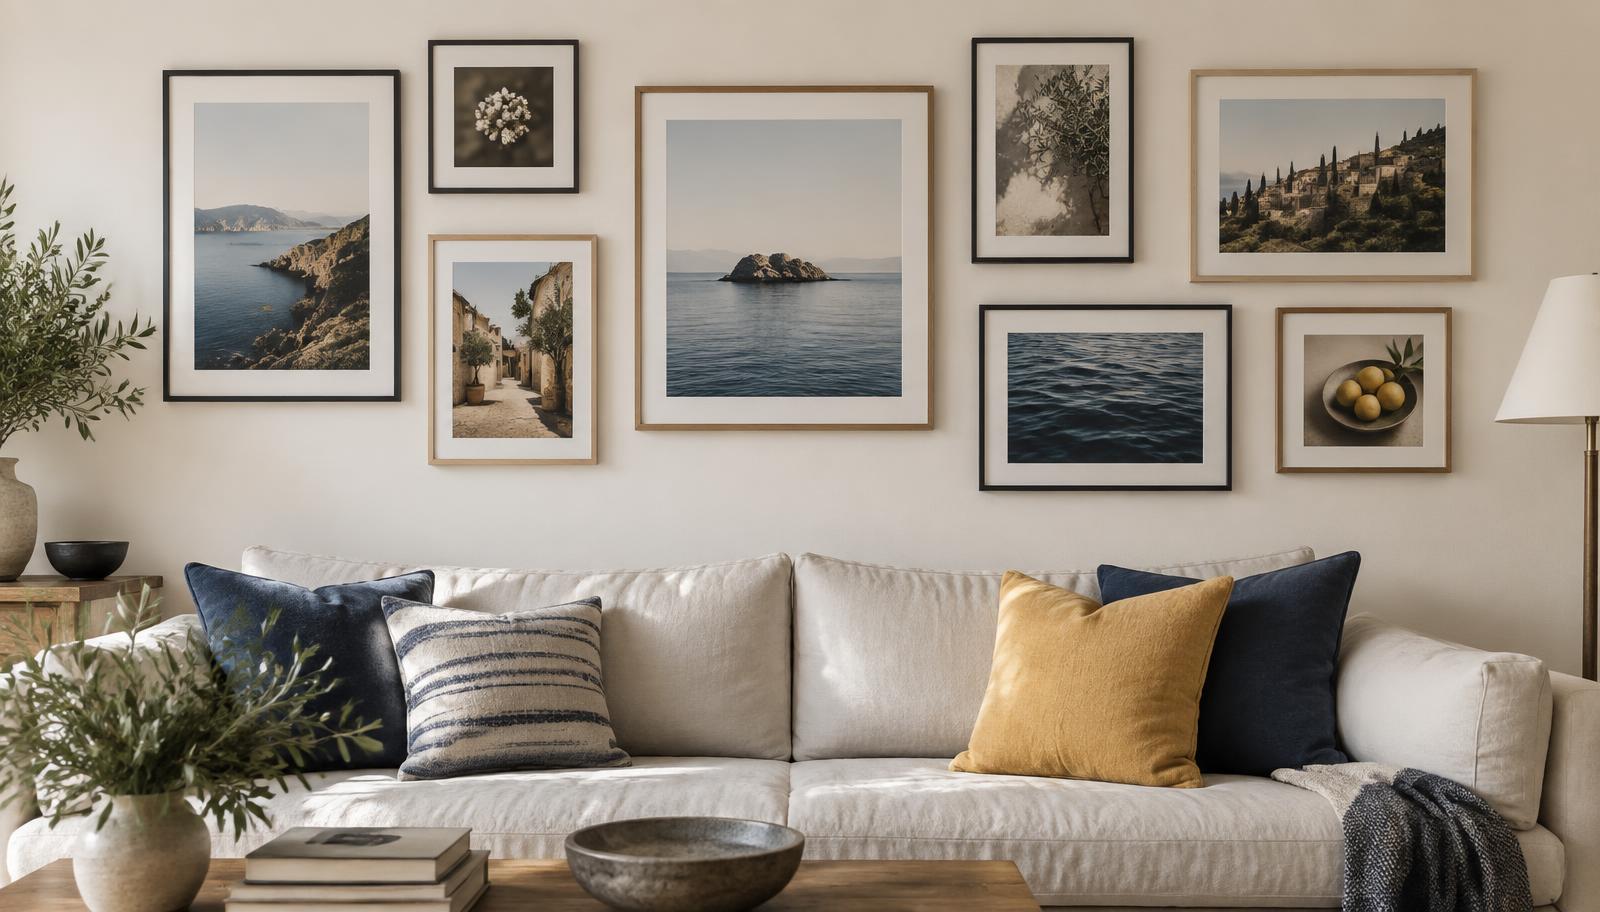
Most gallery wall advice starts in the wrong place. It hands you a grid — five frames here, three there — and asks you to find photos that fit it. So you spend an evening cropping a wide landscape shot into a square it was never meant to be, and the wall ends up looking like the template, not like your life.
The better order is the reverse: start with the photos, then build the layout around them. Here's how to do that without it turning into a weekend project.
1. Choose the photos before you think about frames
Pick the images first, on their own merits. Aim for a mix you'd actually want to look at every day — a few faces, a couple of wider scenes, maybe one detail shot. Don't count to a target number yet. The number of photos should drive the layout, not the other way round.
A good working range for a single wall is anywhere from three to fifty. Small clusters of three to six suit a tight corner or a stair wall. Past fifty, a single arrangement gets hard to read, and you're better off splitting it across two walls.
2. Sort by orientation, because orientation decides the layout
Separate your picks into portrait, landscape, and square. This mix is the single biggest factor in how the wall should be arranged. A set that's mostly portraits wants a different rhythm than one split evenly between wide and tall shots. If you skip this step, you'll fight the layout the whole way.
3. Size for hierarchy, not uniformity
A wall where every frame is the same size reads as flat. Give one or two images more room — a wide shot of a place, a portrait that carries the room — and let the rest support them. That contrast is most of what makes a wall look designed rather than assembled.
4. Set spacing before you set nails
Even spacing is what separates a considered wall from a cluttered one. Two to three inches (5–8 cm) between frames works for most rooms, and reads as a single composition. Any wider and the wall breaks into separate pieces. Keep the gap consistent across the whole arrangement, and decide it on paper before anything touches the wall.
5. Hang at eye level, measured from the middle
The center of the whole composition should sit around 145–150 cm (57–60 in) from the floor — not the top frame, and not the middle of whichever frame happens to be central. Above a sofa or console, leave 15–25 cm (6–10 in) of breathing room above the furniture, and let the wall span roughly two-thirds of the furniture's length.
6. See it at true scale before you commit
The mistake that causes the most re-hanging is misjudging scale. A layout that looks balanced at thumbnail size can feel cramped or lost once it's full-size on a real wall. Before you buy a single frame, get the arrangement to true scale — tape paper cutouts to the wall, or preview it digitally at real dimensions — and live with it for a day.
Which layout suits your photos?
Once you know your count and orientation mix, a shape follows naturally:
- Three to six photos: a simple line, a quad, or a pinwheel. Small clusters that look finished with almost no planning.
- Eight to twelve photos: a diamond, a loose grid, or an interlocking block. Enough to fill a wall without going full salon.
- Fifteen to fifty photos: a salon or mosaic. Both scale cleanly and reward mixed sizes and orientations — just keep one straight edge and let the other three breathe.
Where this gets stuck — and one way through it
The steps above are simple to describe and slow to do. Choosing, sizing, arranging, second-guessing: it's the deciding that turns a gallery wall into a project people postpone for years, not the printing or the hanging.
If you'd rather not run the whole process by hand, this is the part Once Upon A Home does for you. You upload your photos and its AI arranges the whole wall around your exact count and orientation mix — then shows it true-to-scale on your actual wall before you drill or buy anything. When it's right, you export a hanging guide with nail coordinates and a 1:1 stencil, tape it up, and drill through the marks. You still order your own prints and frames; the deciding and the measuring are handled.